
Written by
Stephan Eckes
,
Founding Engineer
Product
/
The ai-coustics SDK is a key part of the pipeline for anyone working in Voice AI. Through its Quail model, the SDK provides real-time voice enhancement solutions that improve your STT, VAD, and overall speech quality, while also reducing Word Error Rates and detection errors. That means fluent turn-taking, accurate responses, and a competition-leading performance from your voice agent, live conferencing, or other Voice AI products and applications.
Our technical approach means there’s plenty of benchmarks to prove Quail’s success. Our research shows impact including:
Up to 43% fewer detection errors
A stronger performance than Krisp, SileroVAD, and other traditional voice AI tools
Down to 30ms latency
But why not try it for yourself? ai-coustics is built by developers, for developers, and designed for transparency and easy testing, with seamless onboarding, flexible payments, and uncomplicated gateways. Simply sign up to the Developer Platform and start testing – here’s how.
Step 1: Sign up on the Developer Platform and generate your SDK key
From the ai-coustics homepage, access the Developer Platform via the Sign Up / Login buttons. Either create a new account or sign into your existing account (you can also use Google or GitHub login). Note that you’ll need a business email address.
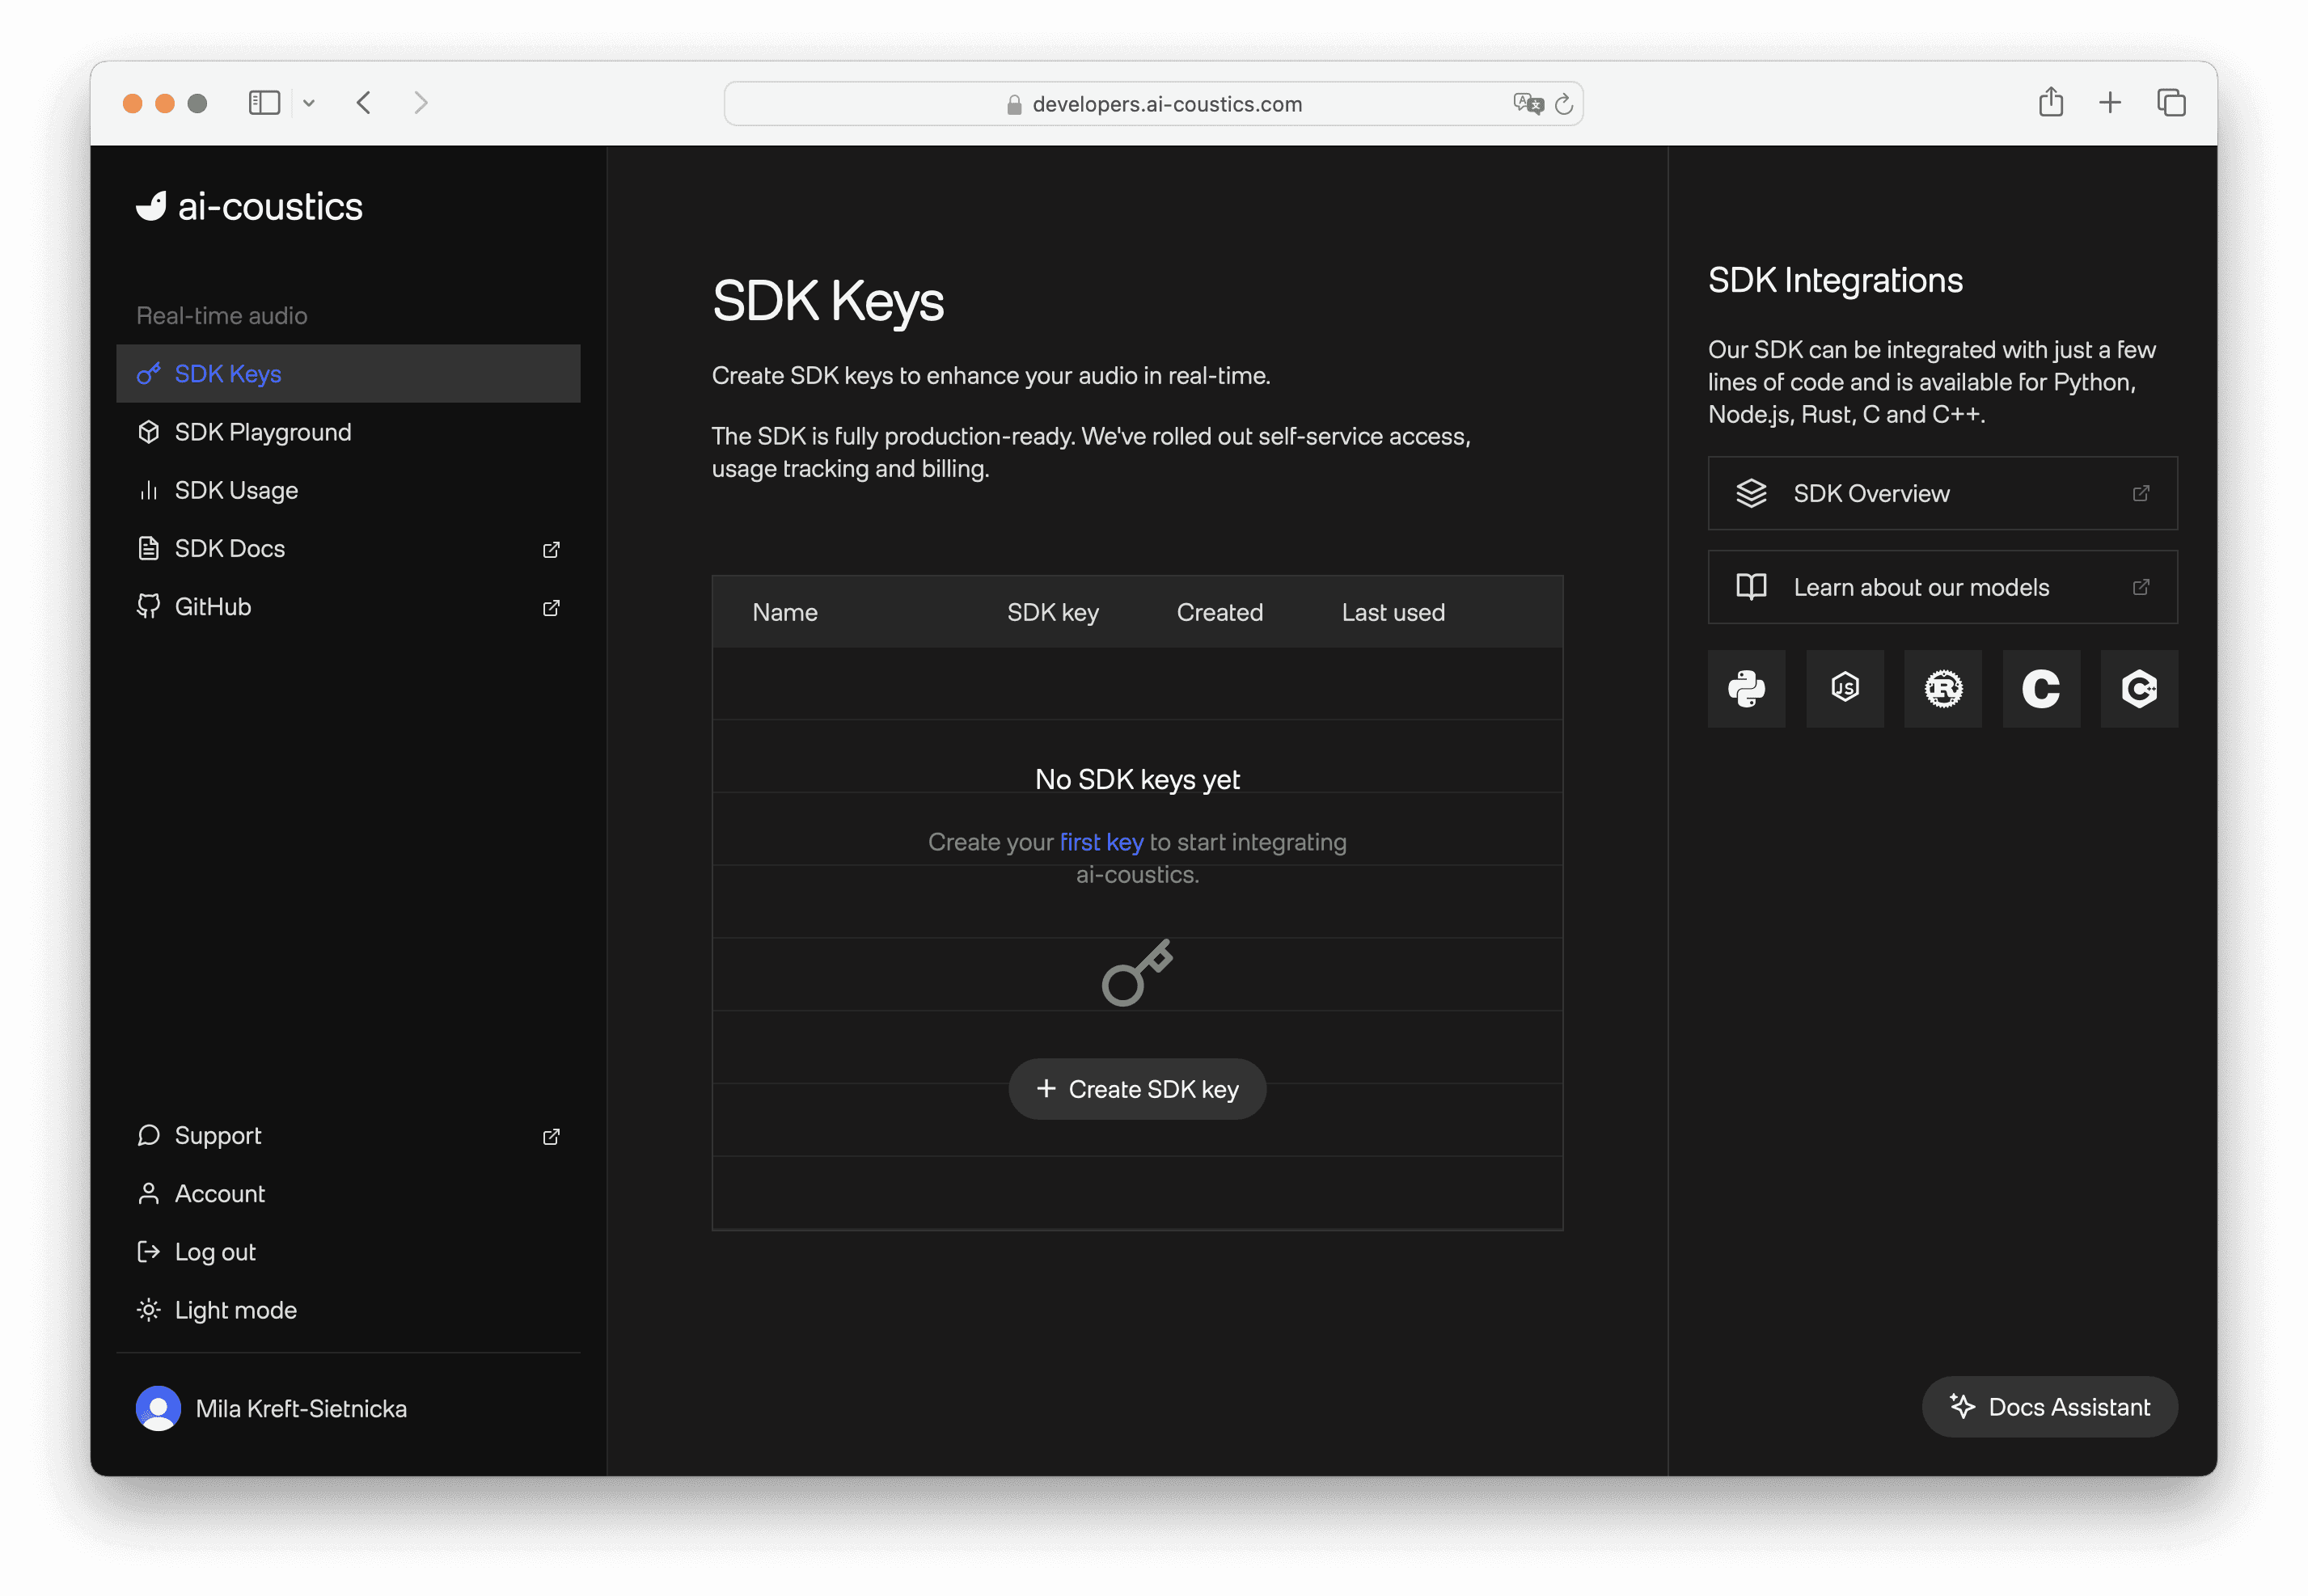
In the Developer Platform, there is a left-hand column with access to documentation, SDK Playground, Usage dashboard and SDK keys. Navigate to “SDK keys”, select “Create SDK key”, give it a name if you like, and you’ll be given a key. Copy the key for later.
Step 2: Select model and language
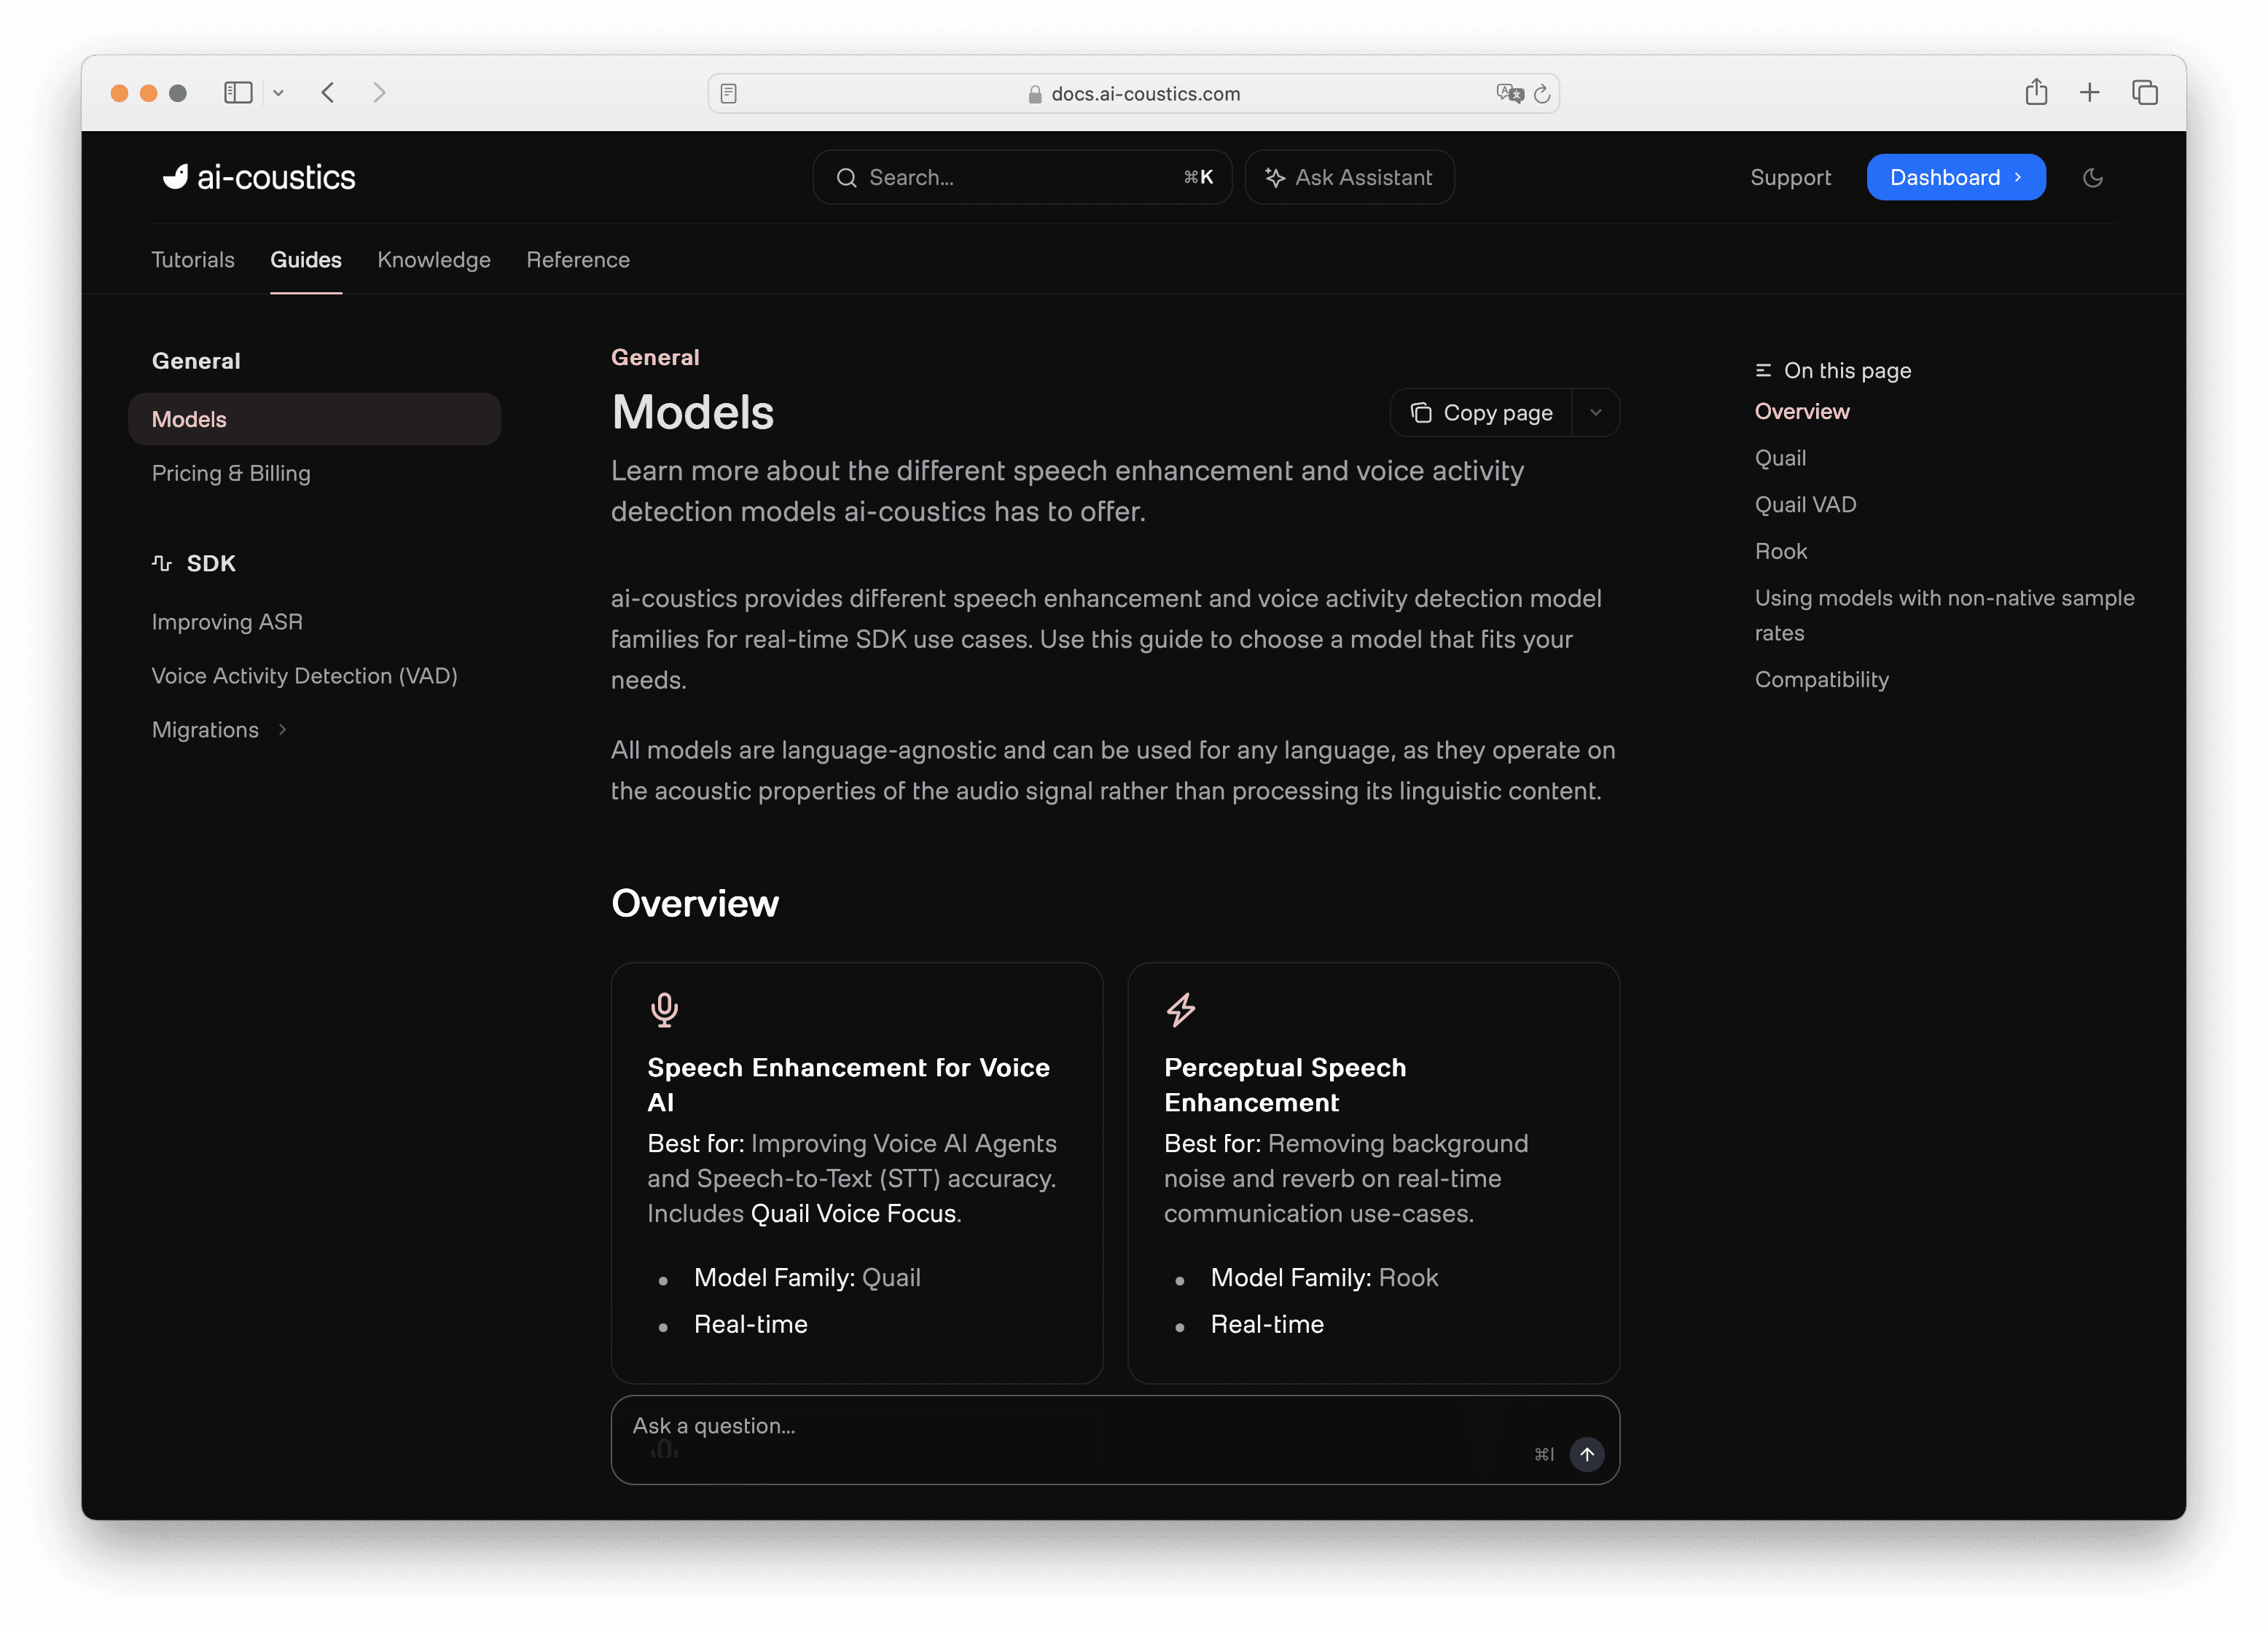

With your SDK key ready, the next thing you need is a model. You can browse all available models at artifacts.ai-coustics.io, or head to the Models Overview in the documentation for more guidance.
There are two model families to choose from. Quail models are optimized for speech-to-text: they're trained to improve STT accuracy, so they'll leave a little noise through - but that's intentional, because machines process audio differently to humans. Rook models, on the other hand, are built for human-to-human communication: they sound clean and natural, and are the right choice for conferencing, headsets, and similar use cases. In the tutorial, we're using Quail Voice Focus, the recommended model for voice agents.
Once you've selected your model, pick the language you want to integrate with.
Step 3: Configure and enhance files with the SDK
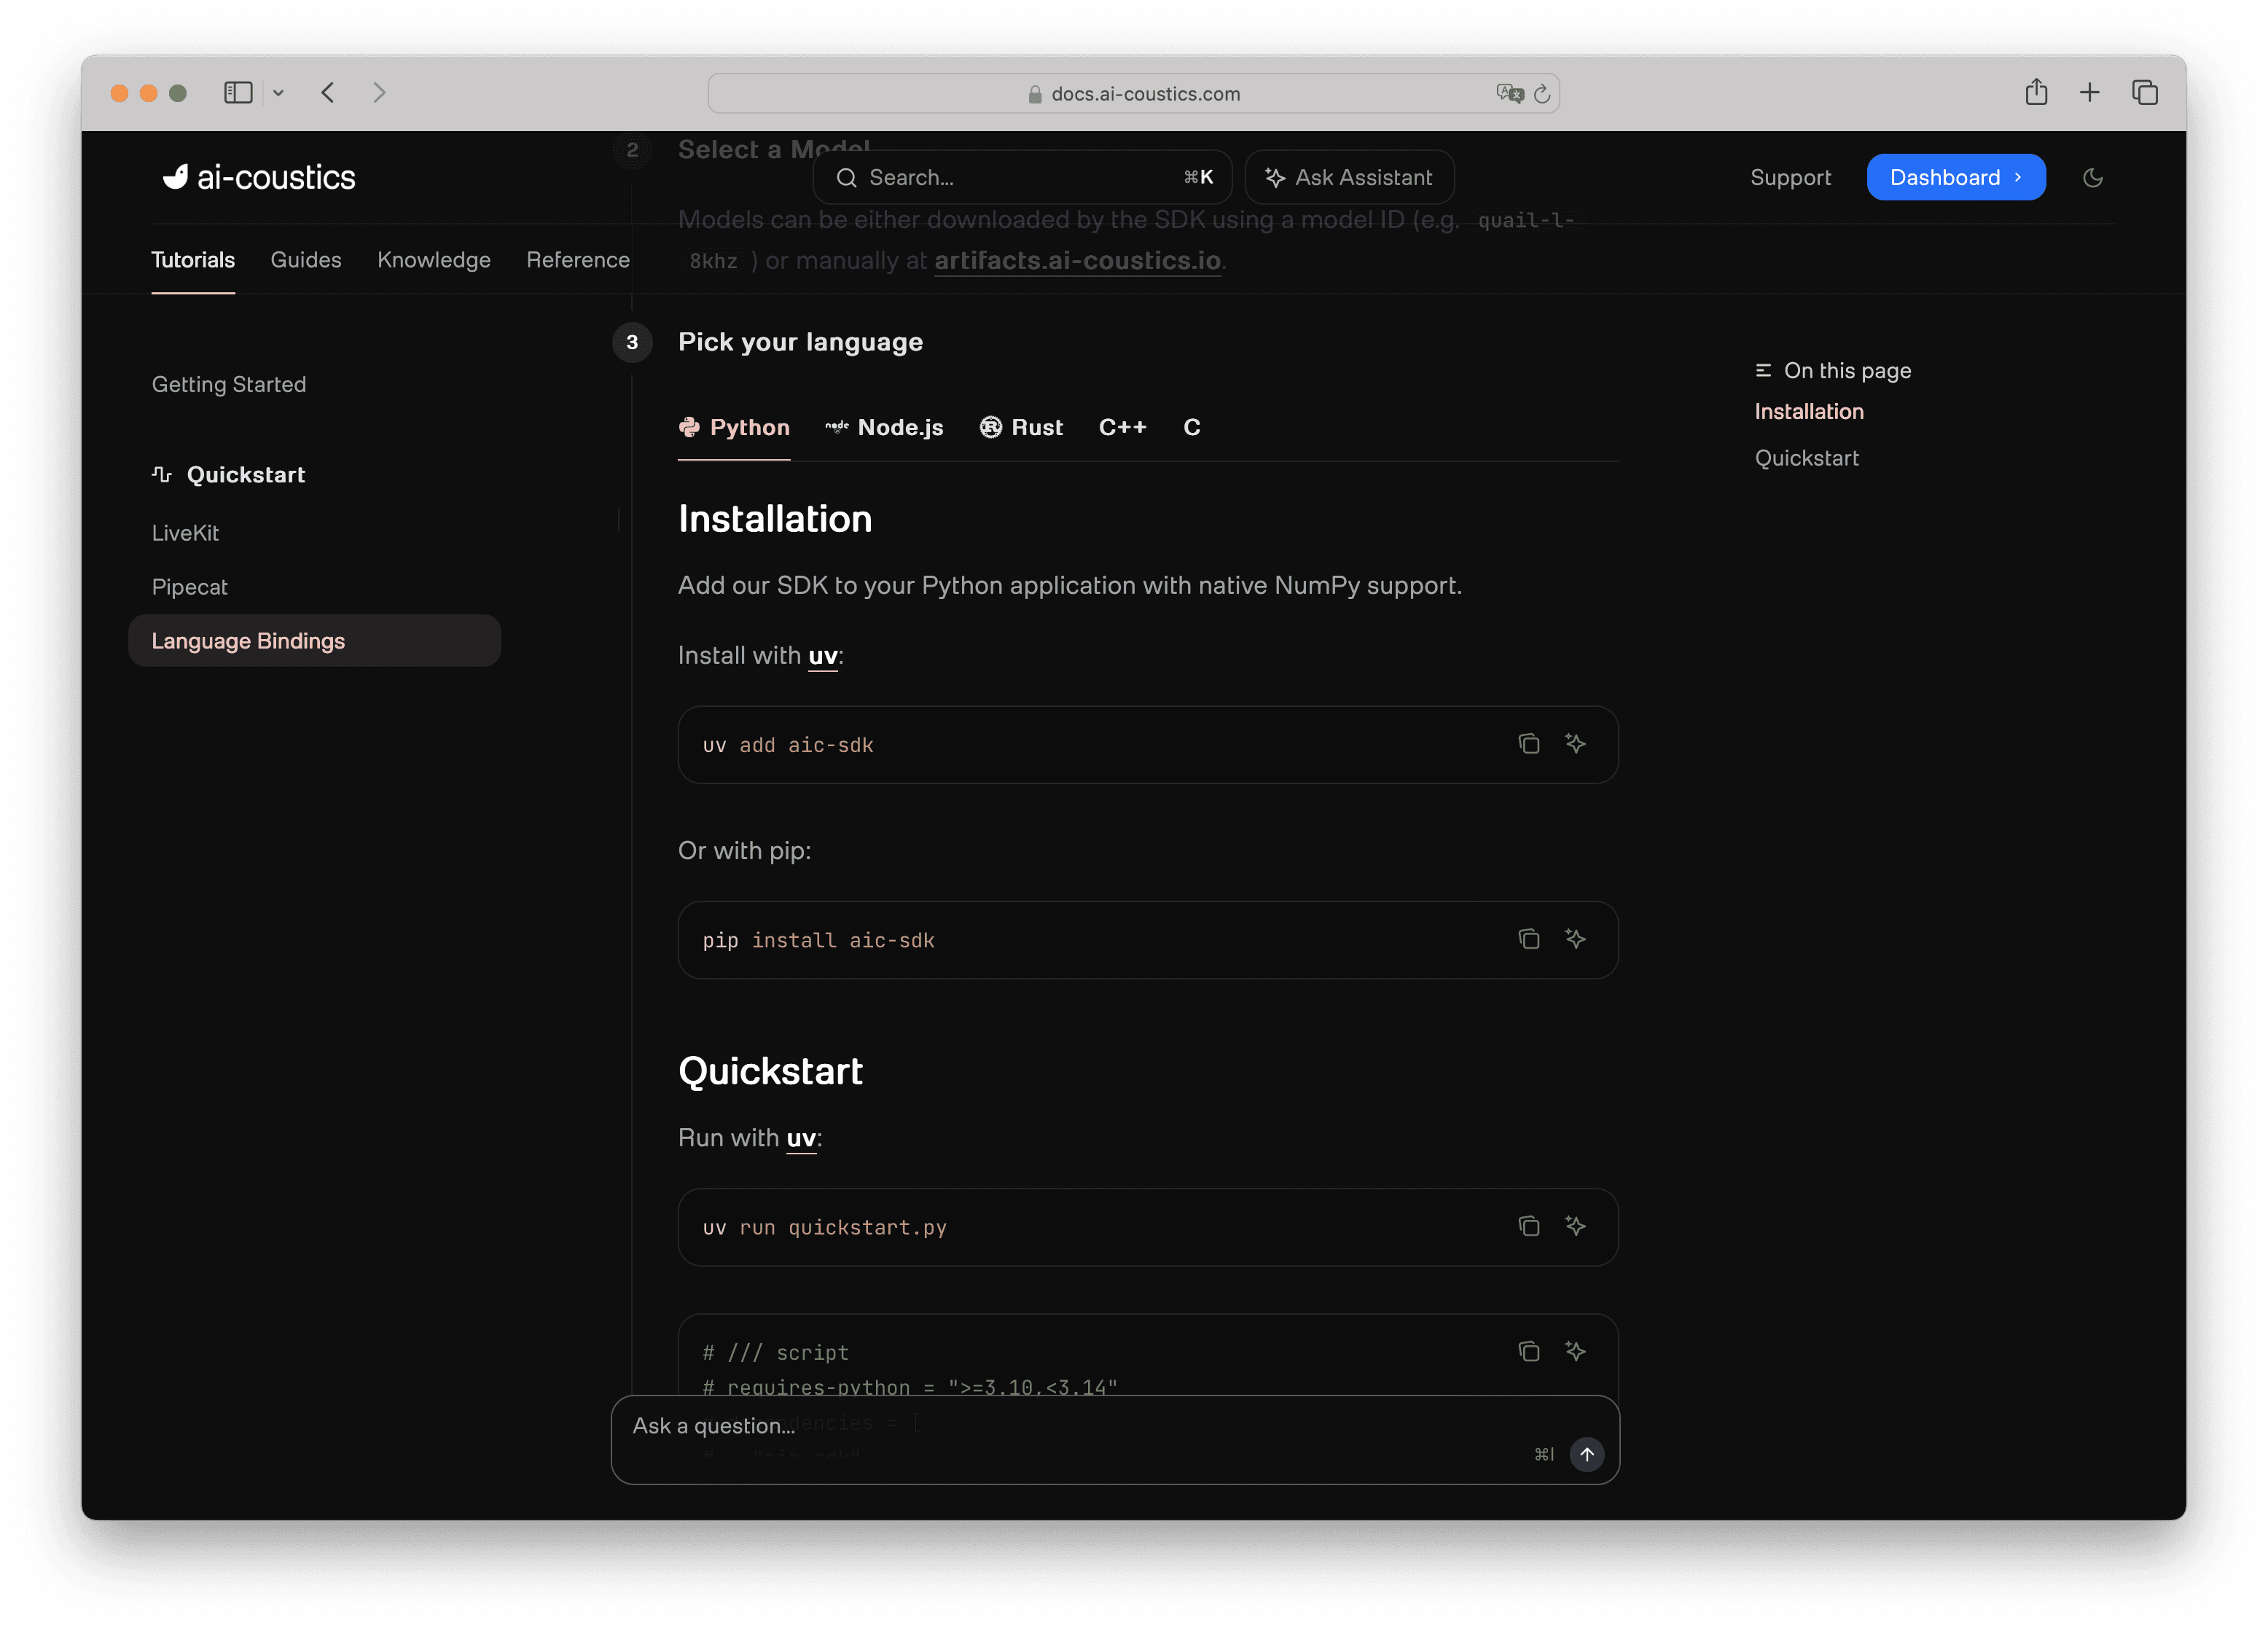
Head to the SDK Quickstart in the docs and copy the quickstart code in your selected language (we're using Python as an example). Create a new file and paste it in.
If you're using uv, the script header handles all dependencies automatically. The code itself is straightforward:
Before running, set your SDK key as an environment variable in your terminal session:
Then run:
uv will install everything automatically and process the audio buffer. On first run, the SDK will also download the model file into the ./models folder or you can download it manually and load it from a local path instead.
A note on the processor: you can create multiple processors from a single model instance. This lets you reuse the model weights in memory rather than loading them separately for each stream - useful if you're running concurrent calls.
Step 4: Run examples & enhance audio
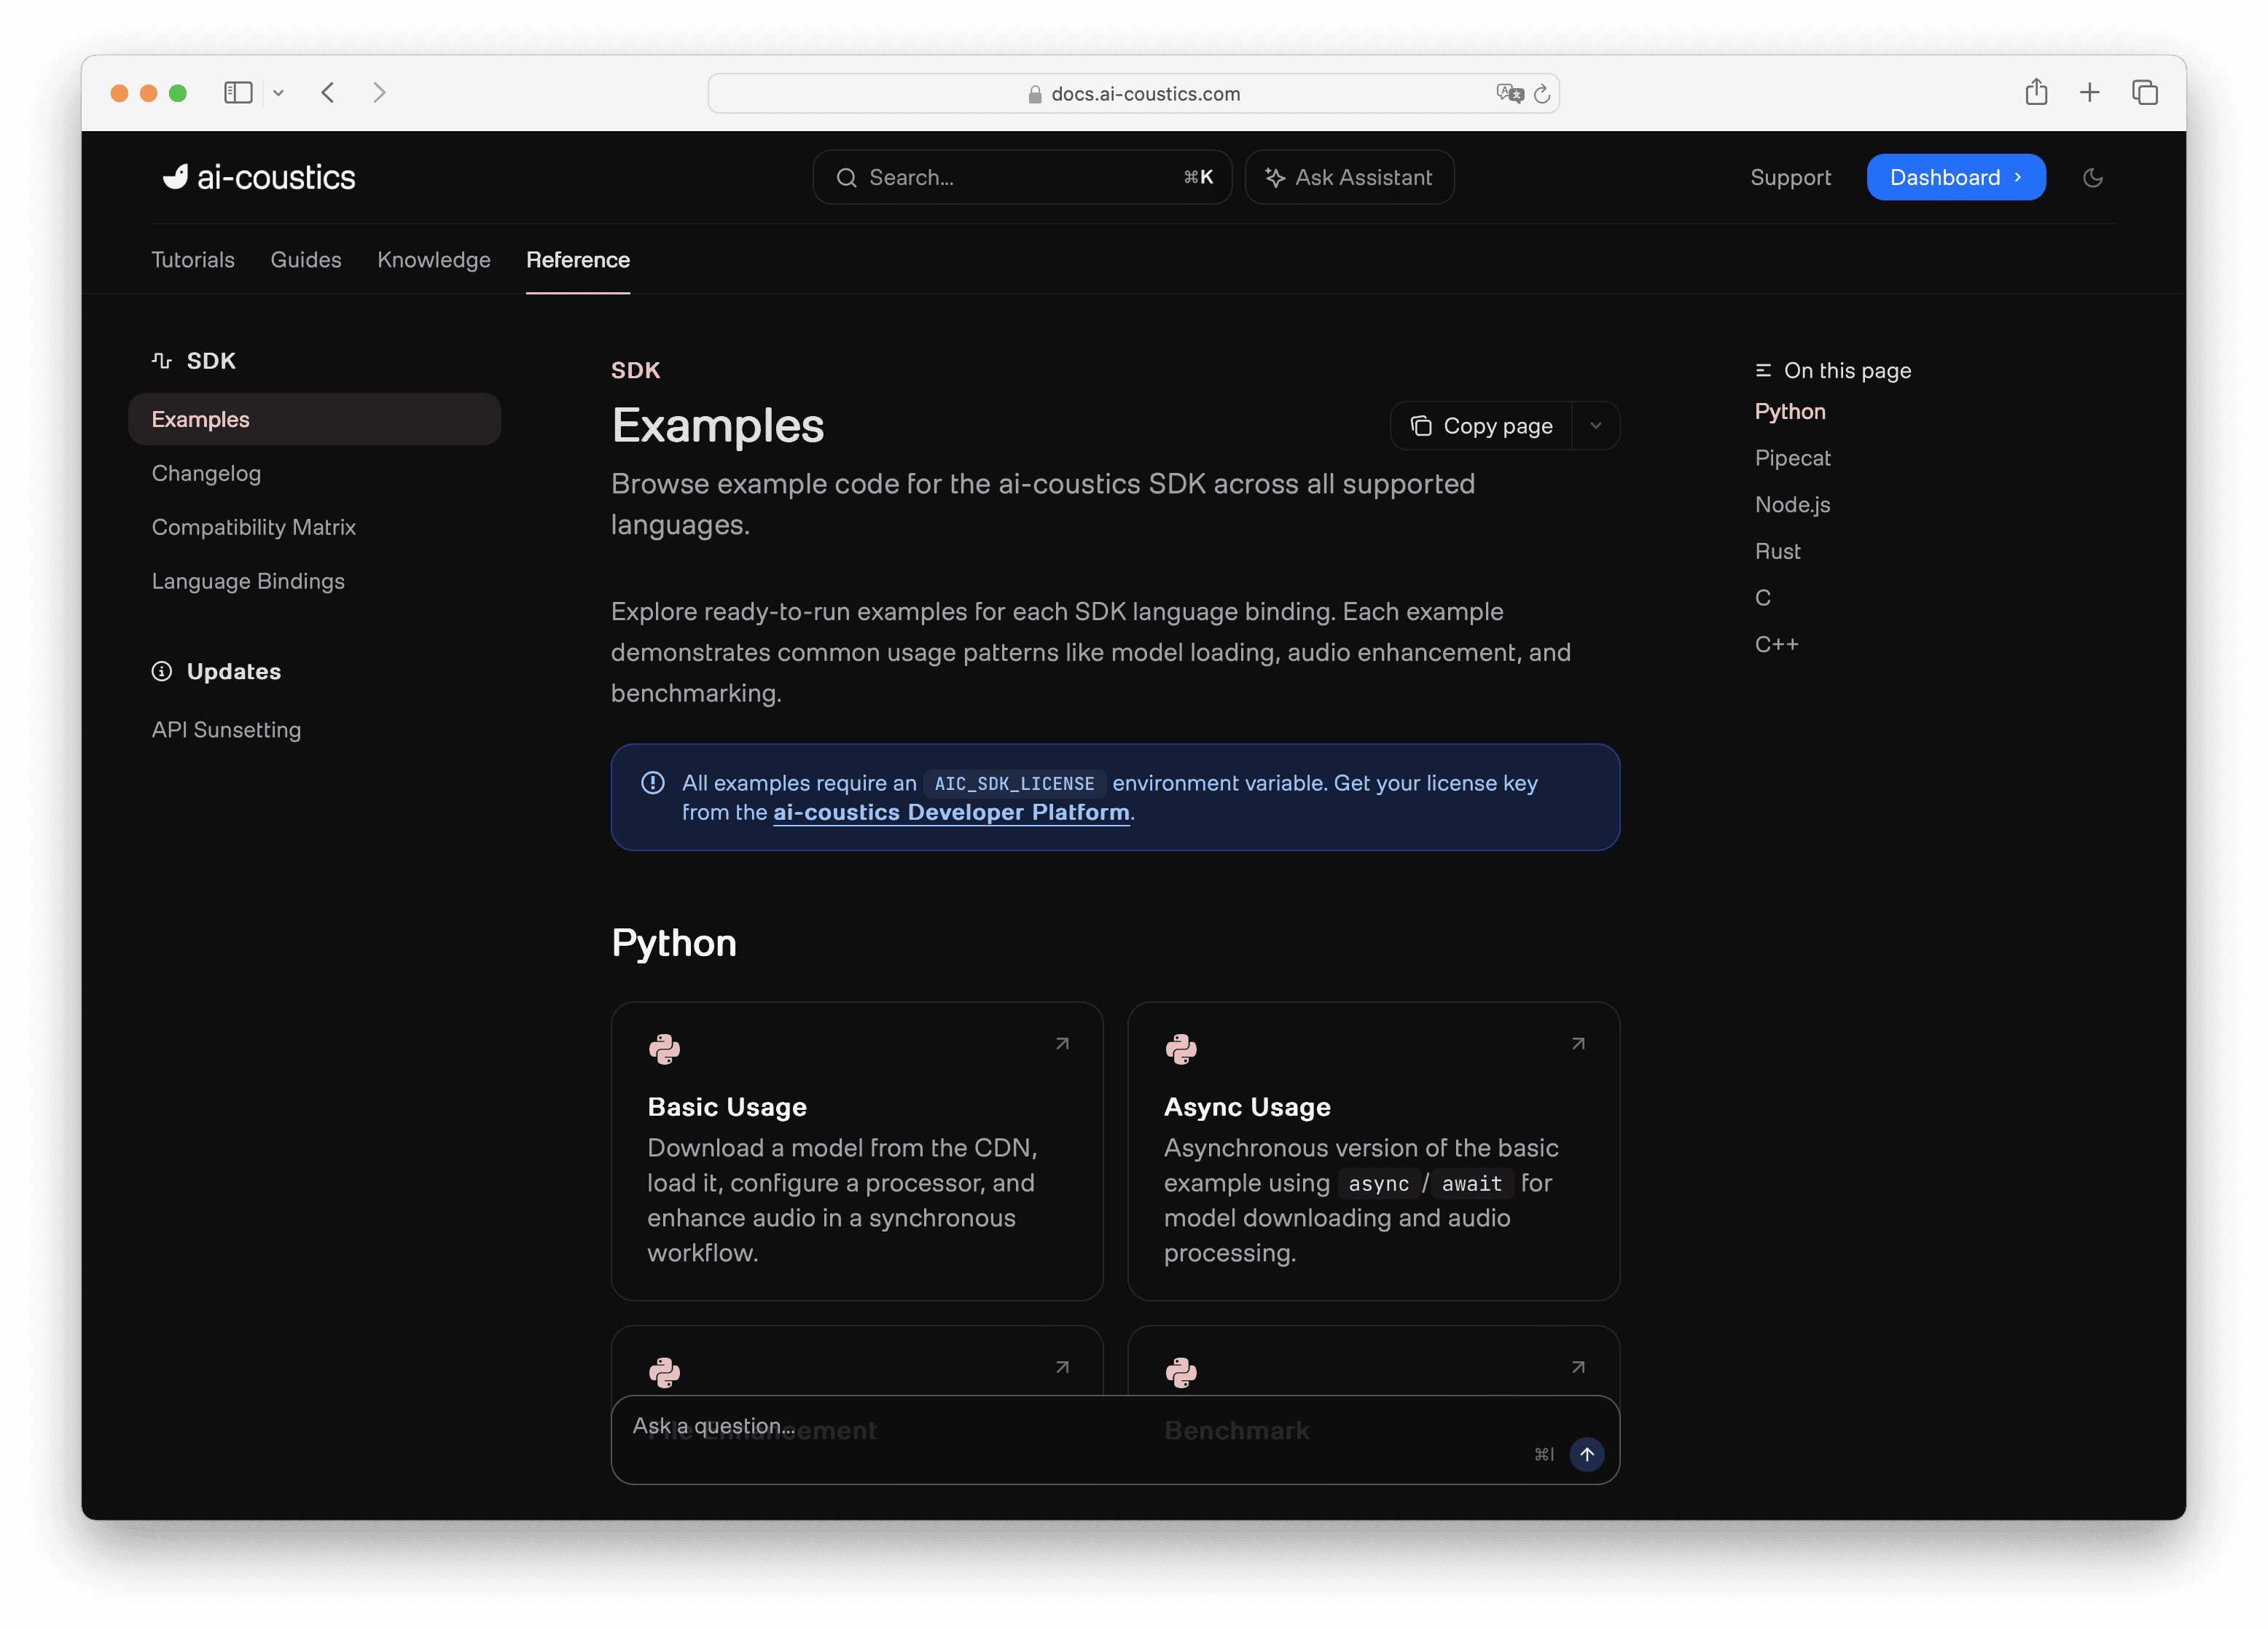
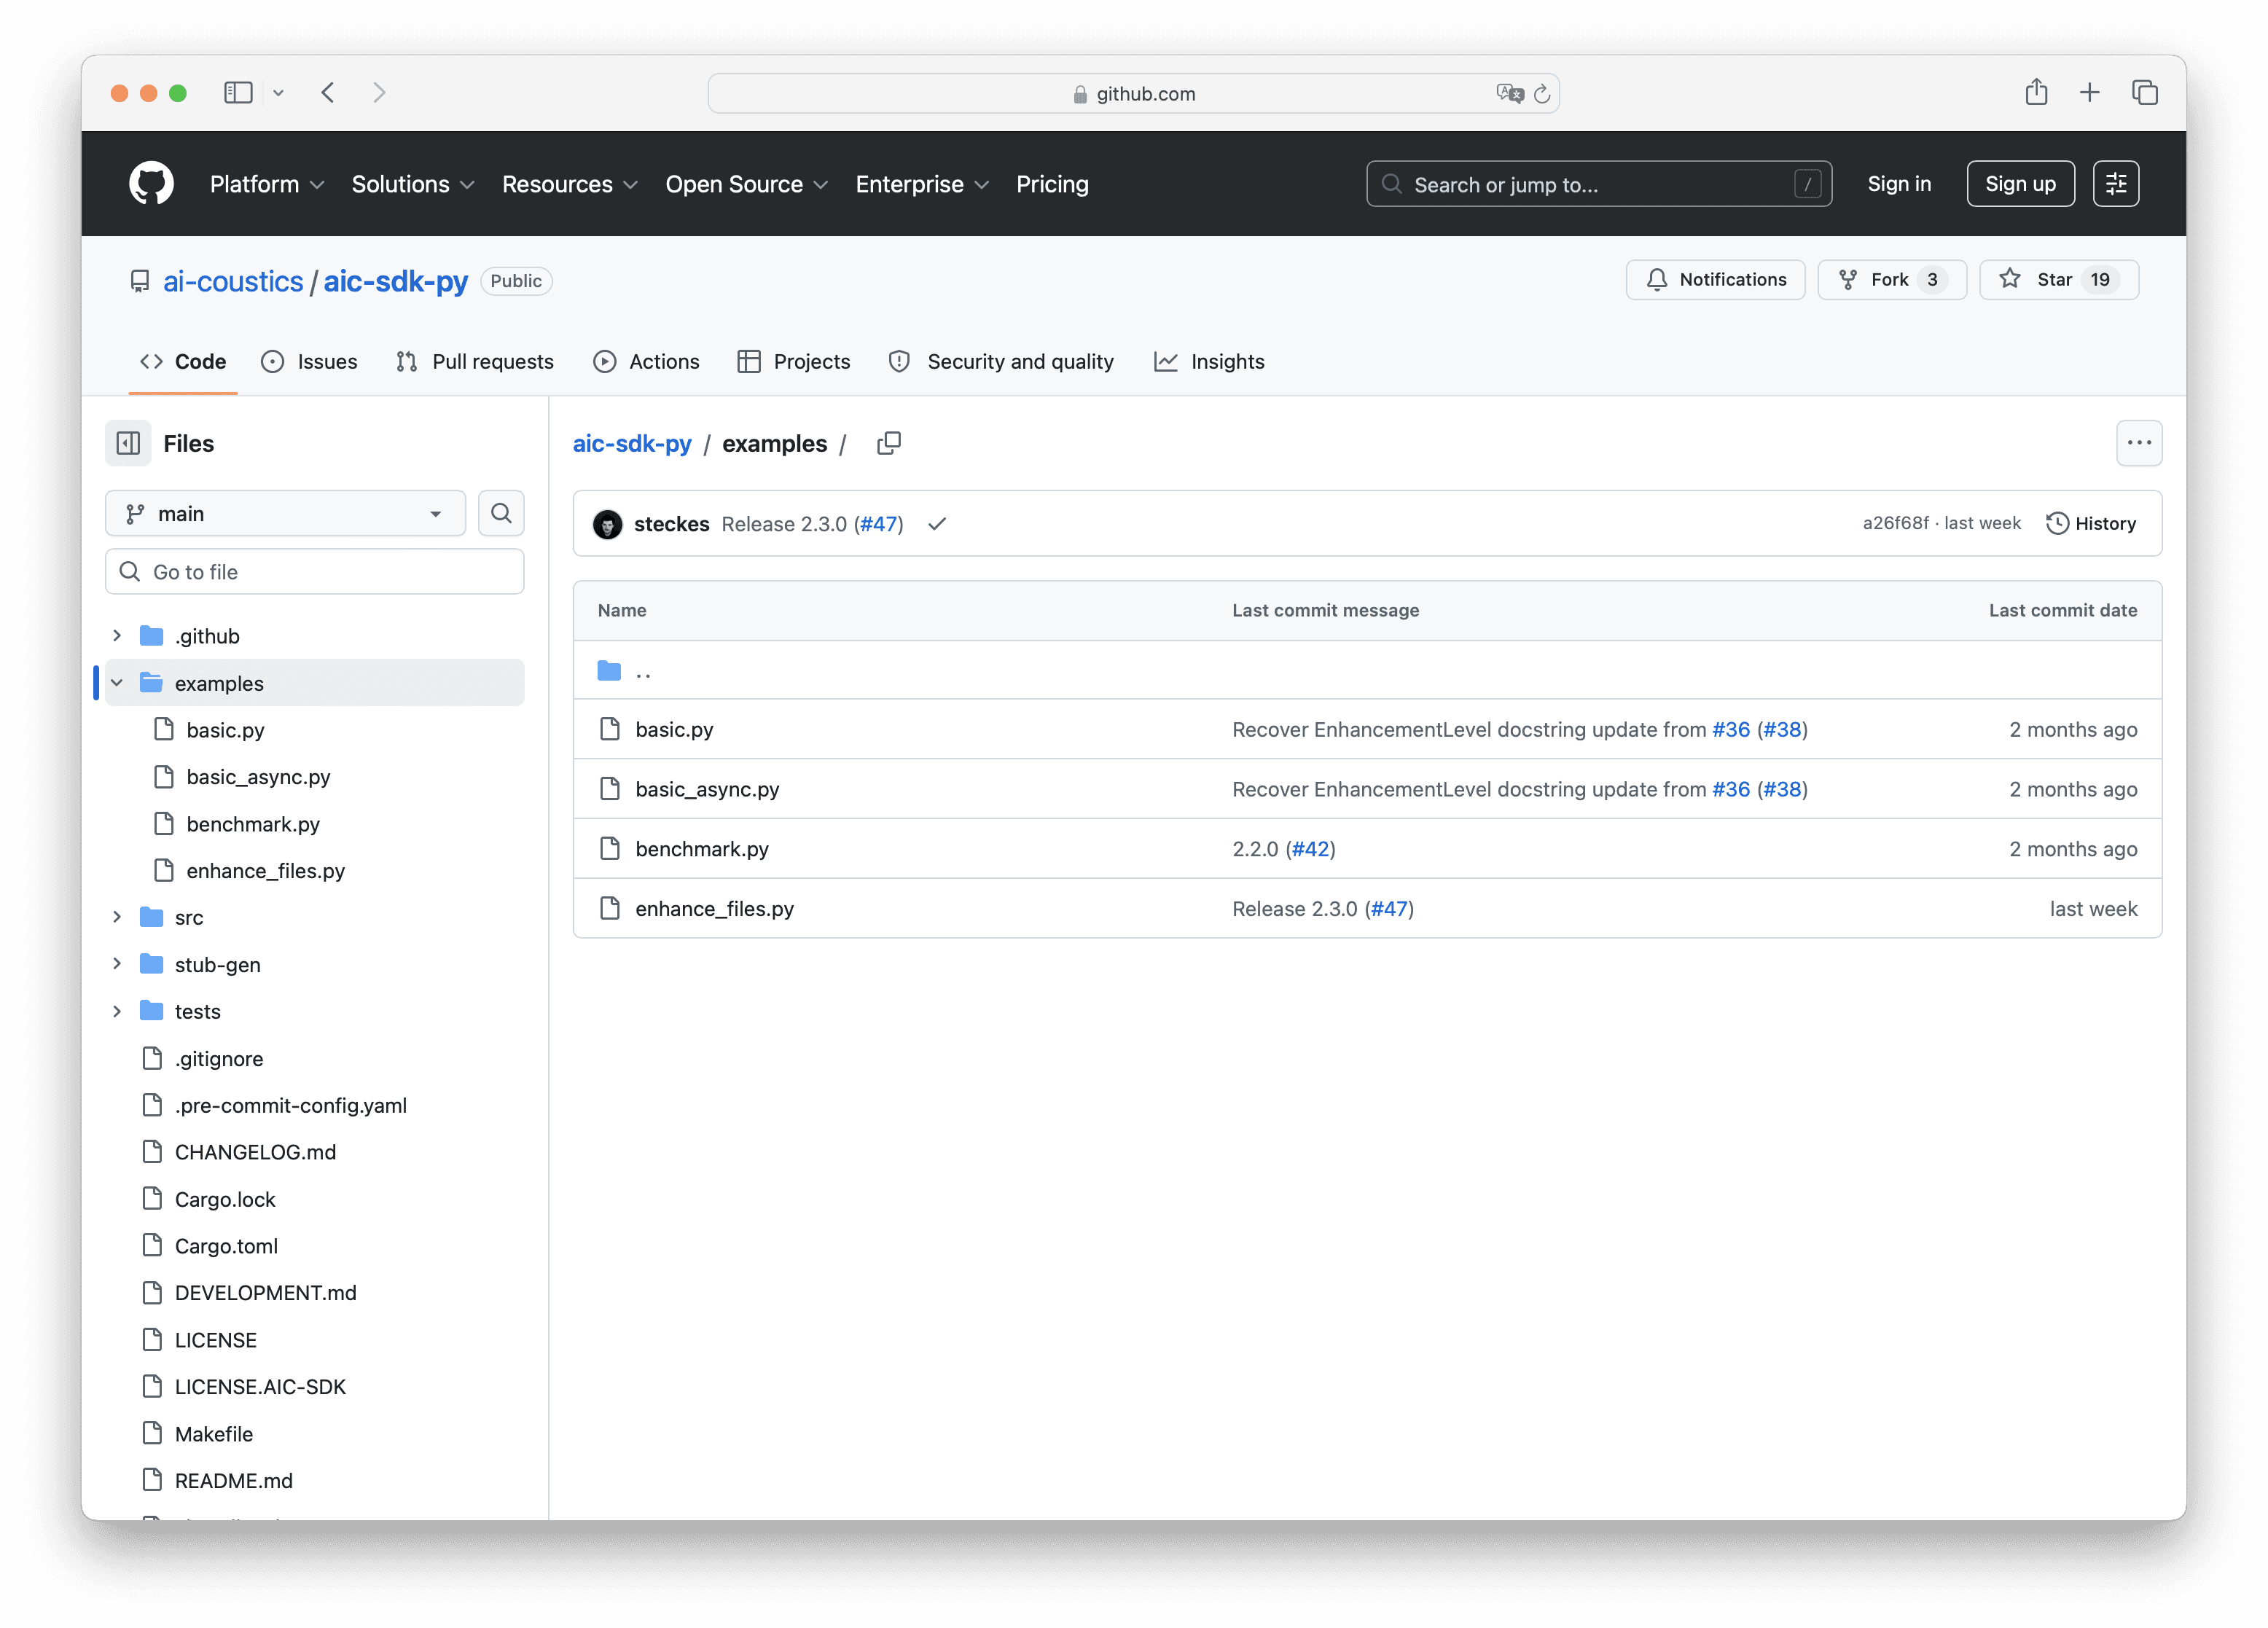
Now that you've run the quickstart, it's time to try it on real audio. Open the Python SDK repository and navigate to the examples folder. You can also find all available examples for all language wrappers in the docs. You'll find several ready-to-run scripts:
basic.py - close to the quickstart, a clean starting point
basic_async.py - runs the processor asynchronously, useful for handling multiple streams in parallel
benchmark.py - shows how many parallel streams your machine can handle before missing real-time requirements
enhance_files.py - processes a batch of WAV files in parallel and writes the enhanced versions to disk
Copy enhance_files.py into your project. The only change needed: the example references the local SDK by default, so just remove that reference and let it use the pip-installed package instead.
Run it with -h first to see the available options:
Then point it at your audio files using a wildcard:
All files will be processed in parallel and the enhanced versions will appear alongside the originals. Try playing them back, the difference should be clearly audible.
That's all it takes to get up and running. If you have any questions or need guidance along the way, feel free to reach out to us directly via our Discord community or through the Support button in the Developer Platform.
